
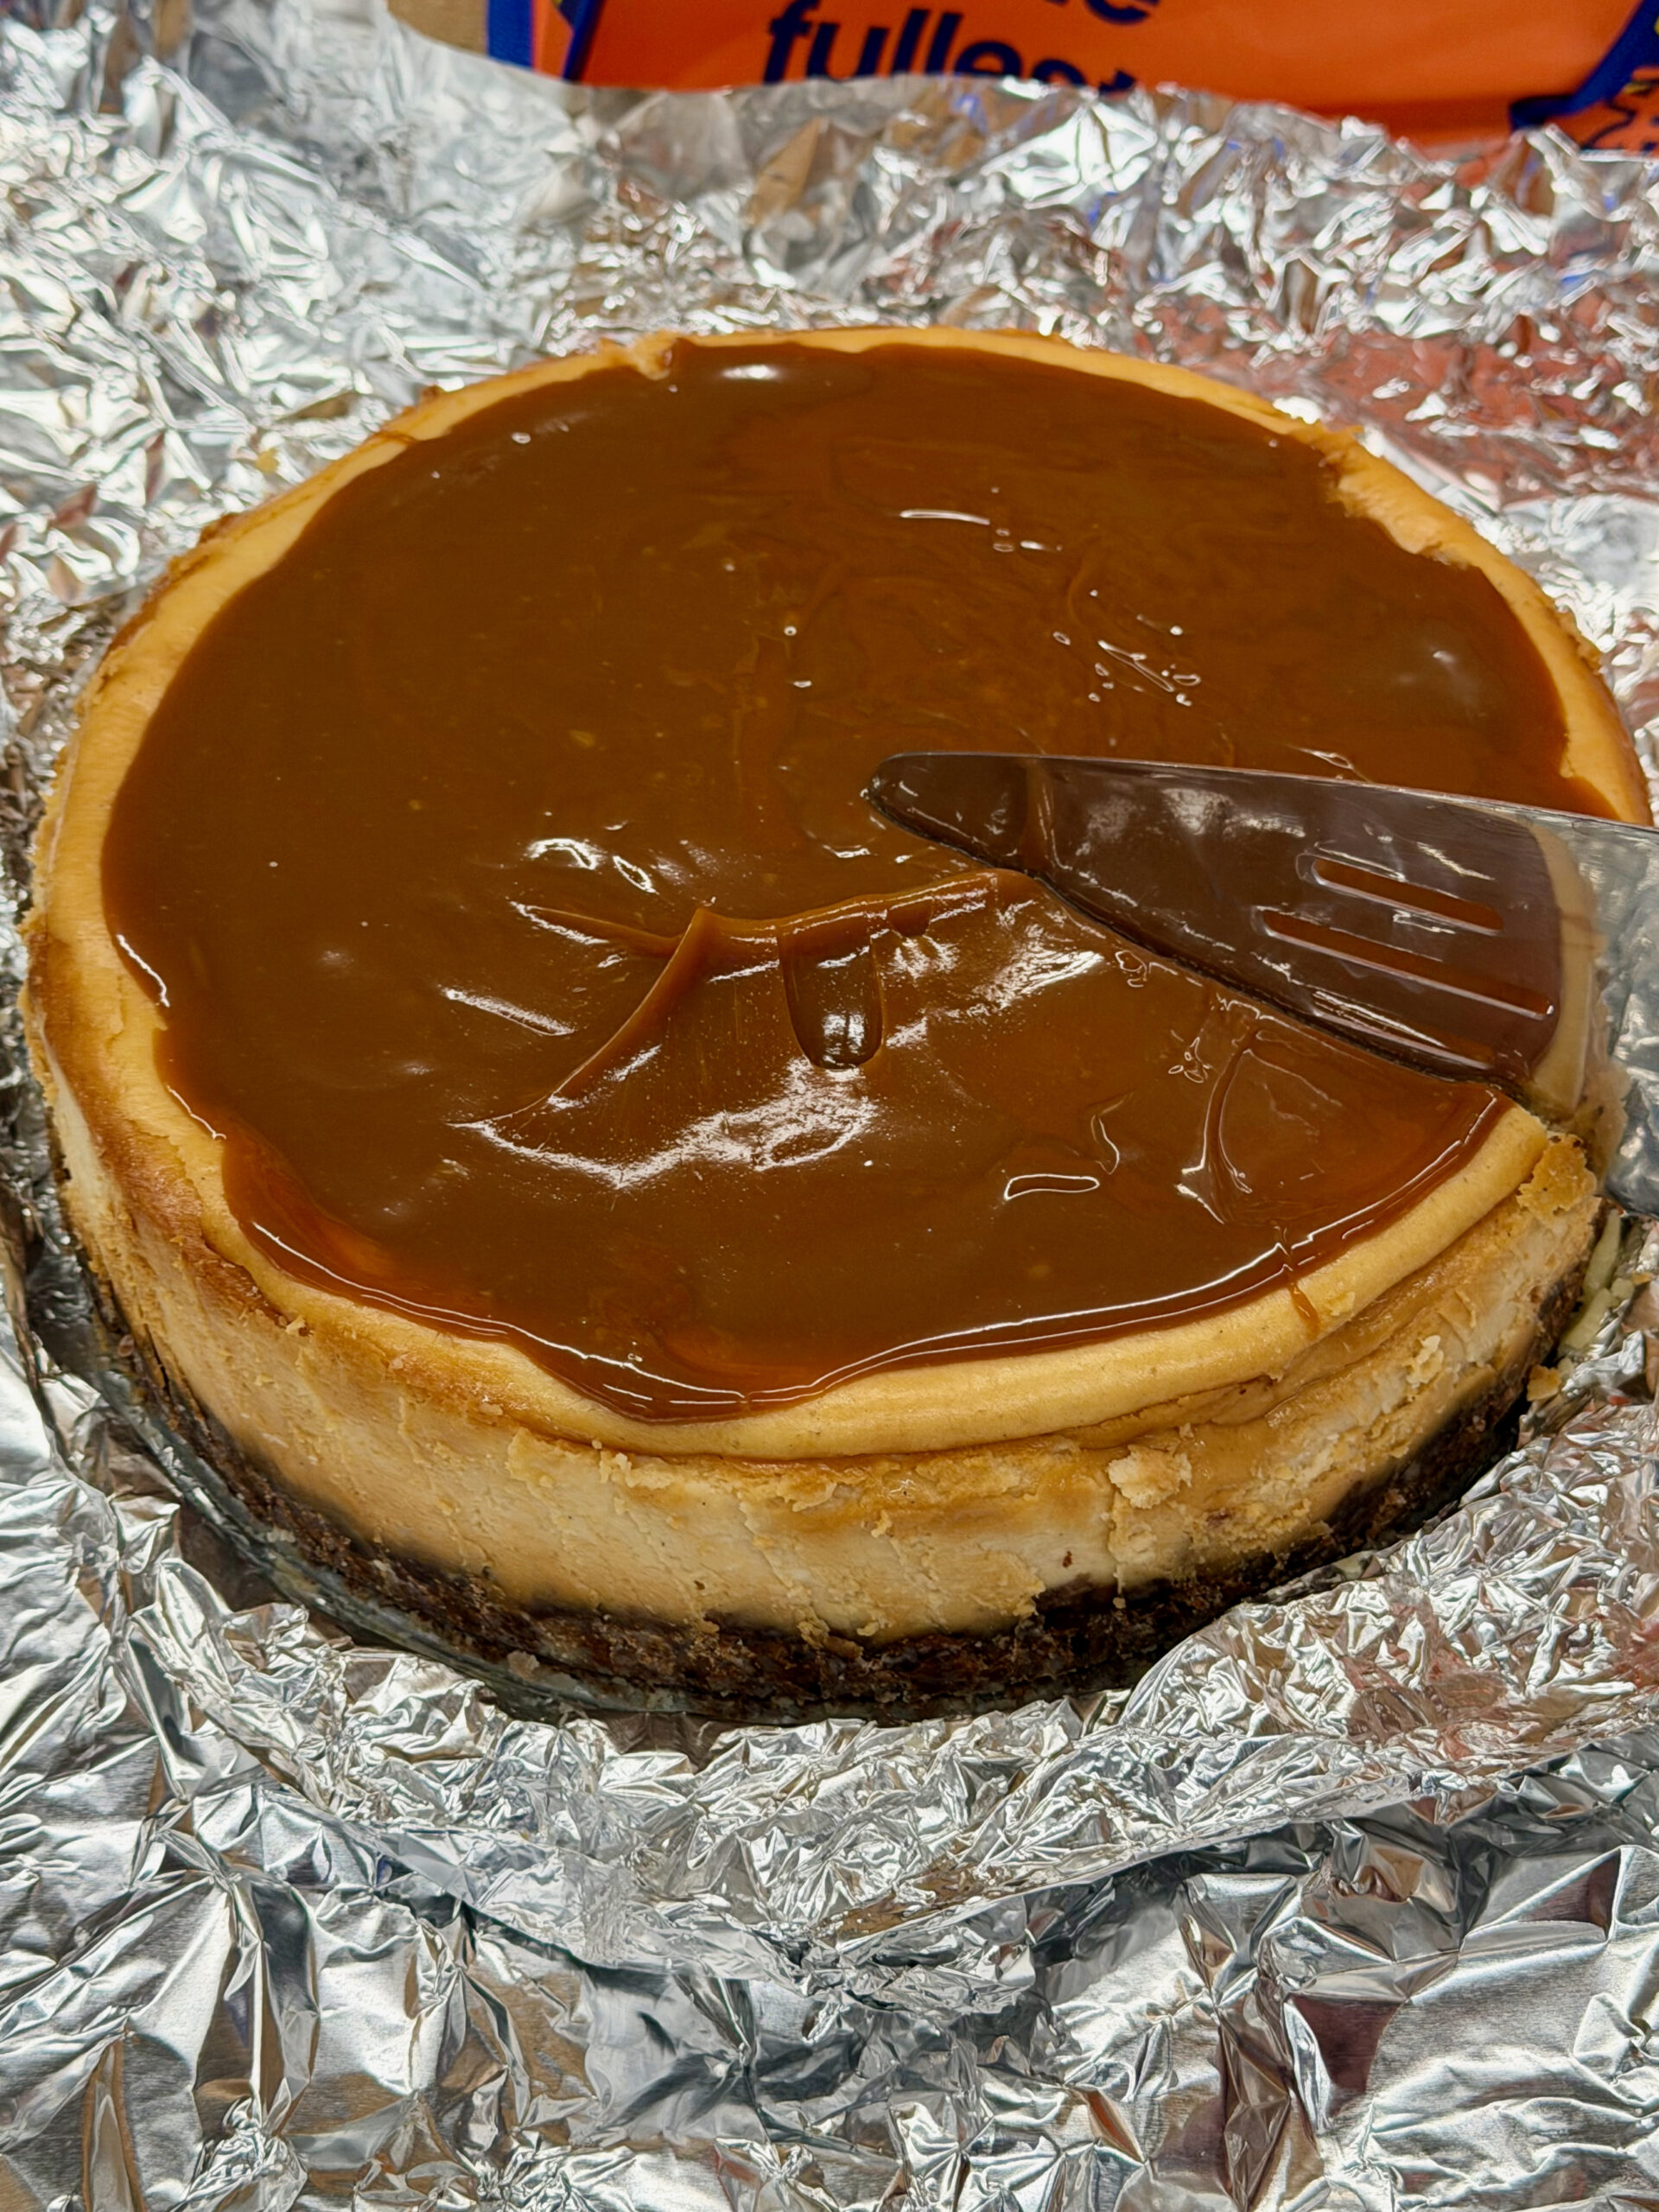
I had some cream cheese leftover from the holidays. Plus, a jar of dulce de leche I brought back from Argentina that needed to be eaten. So I decided to whip up a cheesecake for my coworkers at a team lunch. You can make your own caramel sauce, or change out the crust, if you prefer.
Ingredients:
For the crust:
- 2 cups ground up chocolate chip cookies
- 1/4 cup granulated sugar
- 4 tablespoons unsalted butter, melted
For the filling:
- 2 lbs full fat cream cheese, room temp
- 1 cup granulated sugar
- 2 tablespoons all purpose flour or gluten free flour
- 4 large eggs, room temp
- 1 teaspoon vanilla bean paste
- 1/2 cup full fat sour cream, room temp
- 1/3 cup dulce de leche
For the topping:
- Remaining dulce de leche warmed in water bath or on low in the microwave (if in a glass jar)
Directions
- Preheat the oven to 350F degrees and set a rack in the middle. Grease a 9” springform pan using unsalted butter and wrap the bottom in heavy aluminum foil.
- Either use a food processor or a zip top bag and rolling pin to create the cookie crumbs.
- In a large bowl, combine the cookie crumbs, sugar and butter. Mix with a fork. Pour the crumb mixture into the springform pan, pressing the crust into the bottom and slightly up the sides.
- Bake the crust in the preheated oven for 10 to 12 minutes, until crisp. Remove and let cool. Reduce the oven to 325F degrees.
- While the crust is cooling, in a stand mixer fitted with the paddle attachment (or using a hand mixer), mix together the room temperature cream cheese, sugar, and flour. Mix on low speed just until smooth. Scrape down the bowl.
- Mix in the eggs one at a time, scraping down the bowl halfway through. Scrape down the bowl again once all the eggs have been mixed in.
- Then mix in the vanilla, sour cream, and dulce de leche.
- Use a rubber spatula to give the batter one last good mix by hand just to ensure everything is well combined.
- Pour the batter into the crust and drop the pan against the counter a couple times to let out any air bubbles.
- Using an electric kettle or pot on the stove, bring two to three cups of water to a boil.
- Place the cheesecake onto a baking sheet. Once the water has come to a boil, place the sheet pan with the cake in the oven on the middle rack. Place next to it an oven proof container and carefully pour the hot water into the empty container. I like to pull the middle rack out to do this.
- Bake for 1 hour and 20 minutes. It’s done when the edges have puffed up and the center gives a tight jiggle when you nudge the pan.
- Turn the oven off and leave the cheesecake in the oven with the door cracked open for 45 minutes. A wooden spoon here works wonders.
- Pour the remaining dulce de leche over the cheesecake before refrigerating.
- Store the cheesecake in the fridge for at least 4 hours to set, but preferably overnight.
- Store in an air tight container in the fridge. When ready to serve, use a heated paring knife to work through between the edge of the pan and the crust before releasing the pan. Enjoy!
Salt Swaps:
- This recipe is very low sodium. However, you can use your own chocolate cookie recipe over store bought to help control the amount of salt.



Thanks, Karen! Send any recipe ideas my way anytime 🙂